Description
OHAUS Explorer™ Precision: The New Standard for High-Capacity Laboratory Accuracy (1 mg – 100 mg)
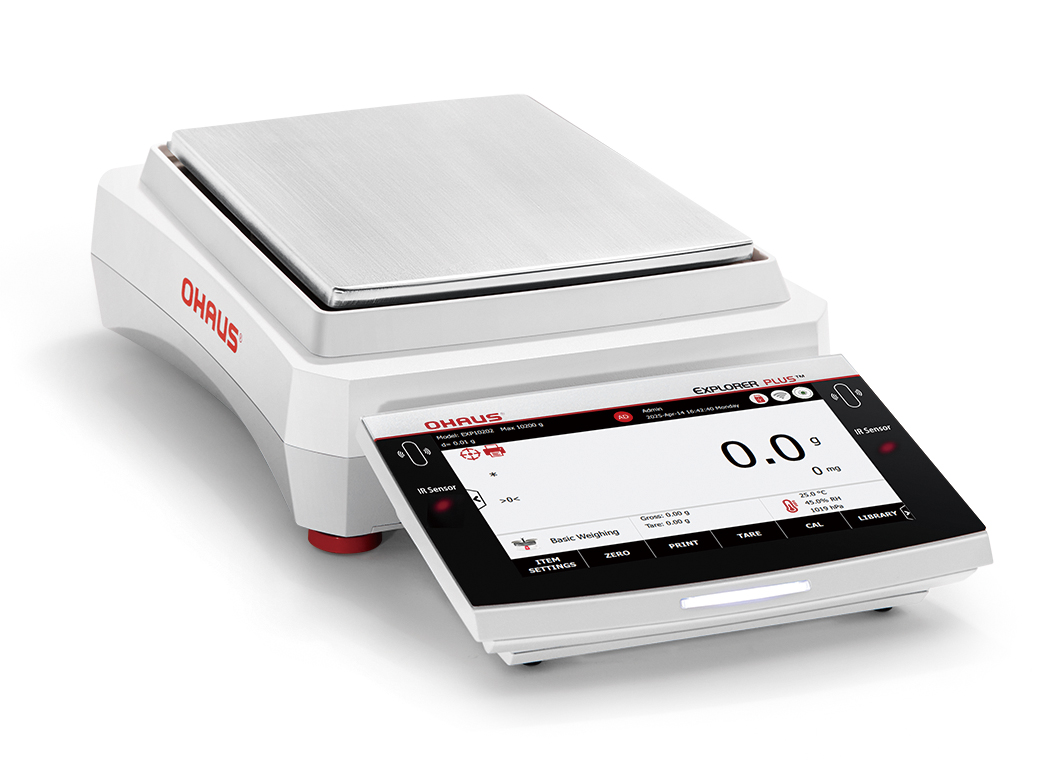
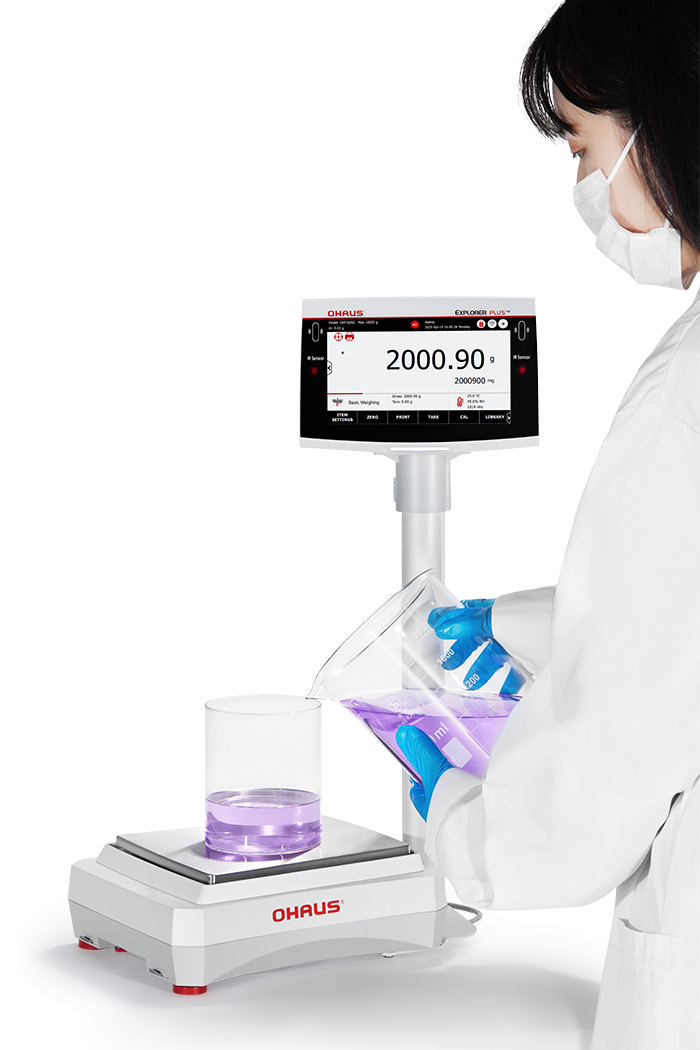
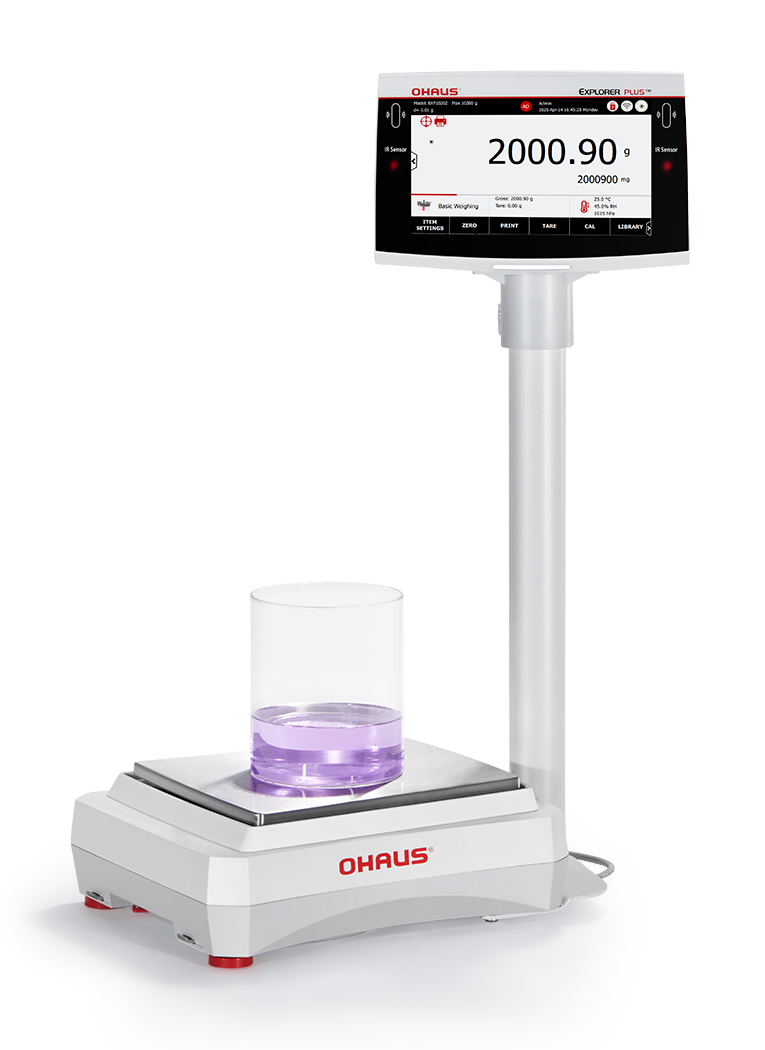
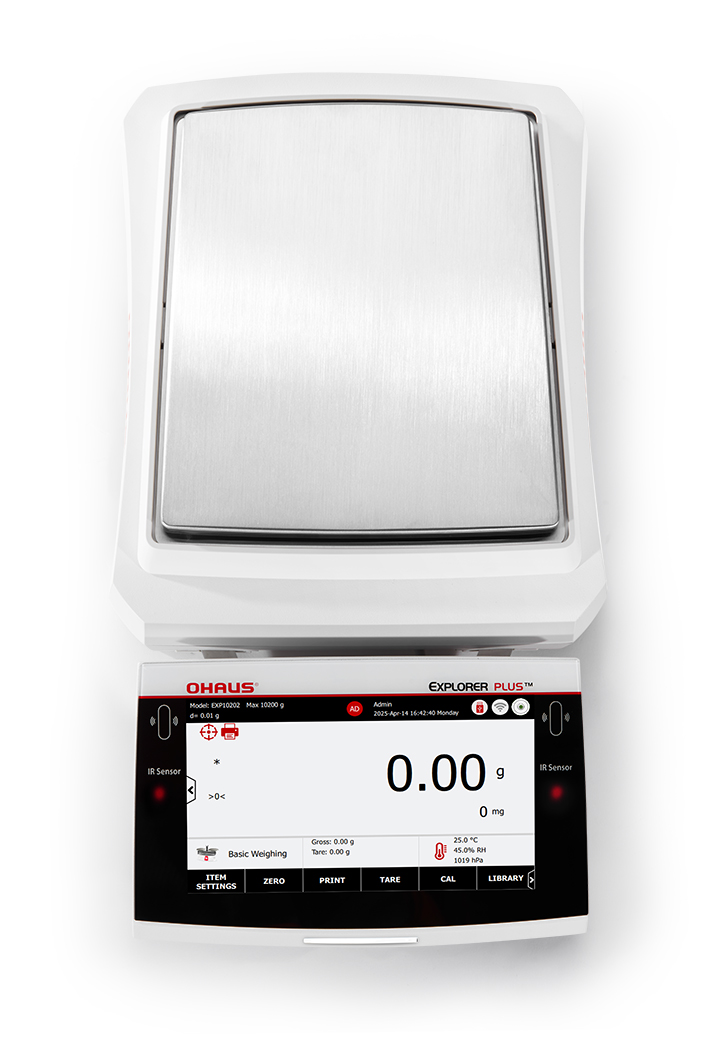
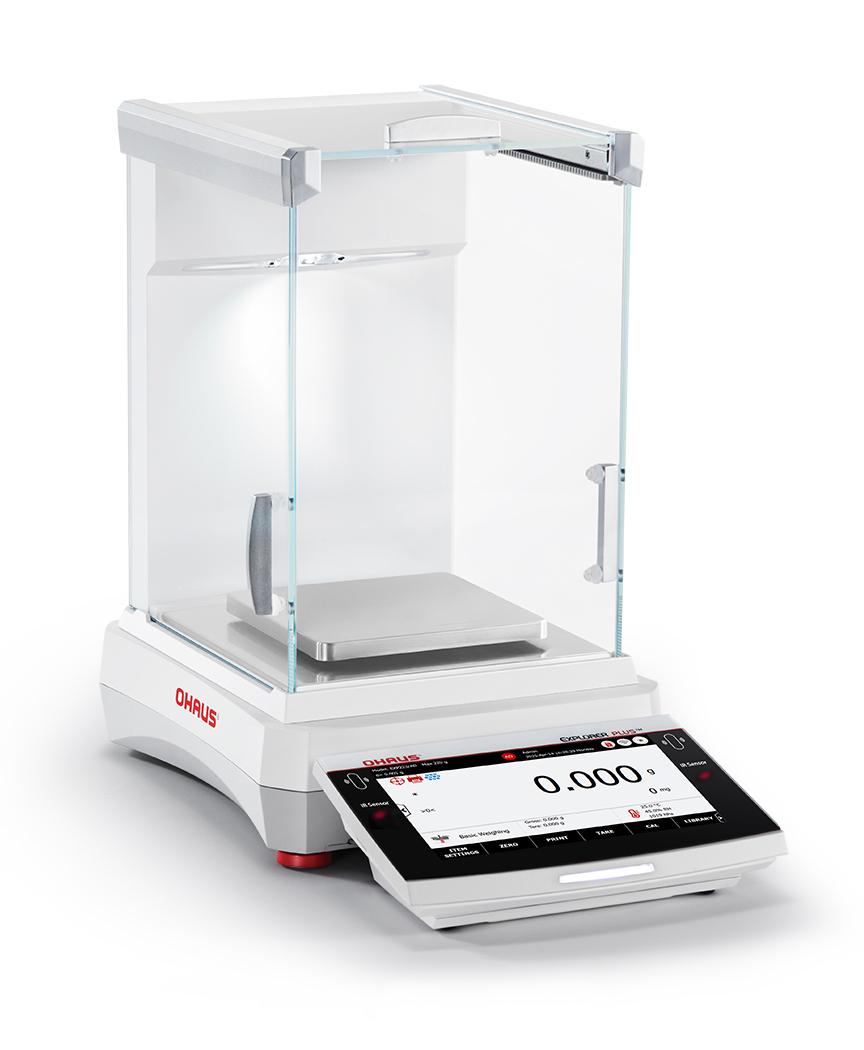
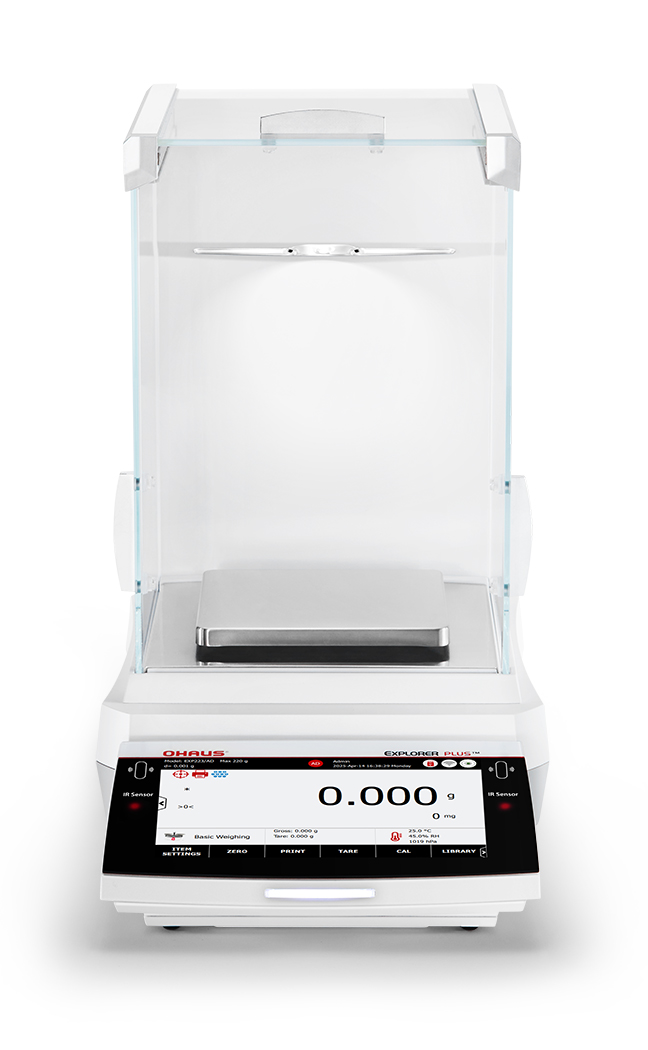
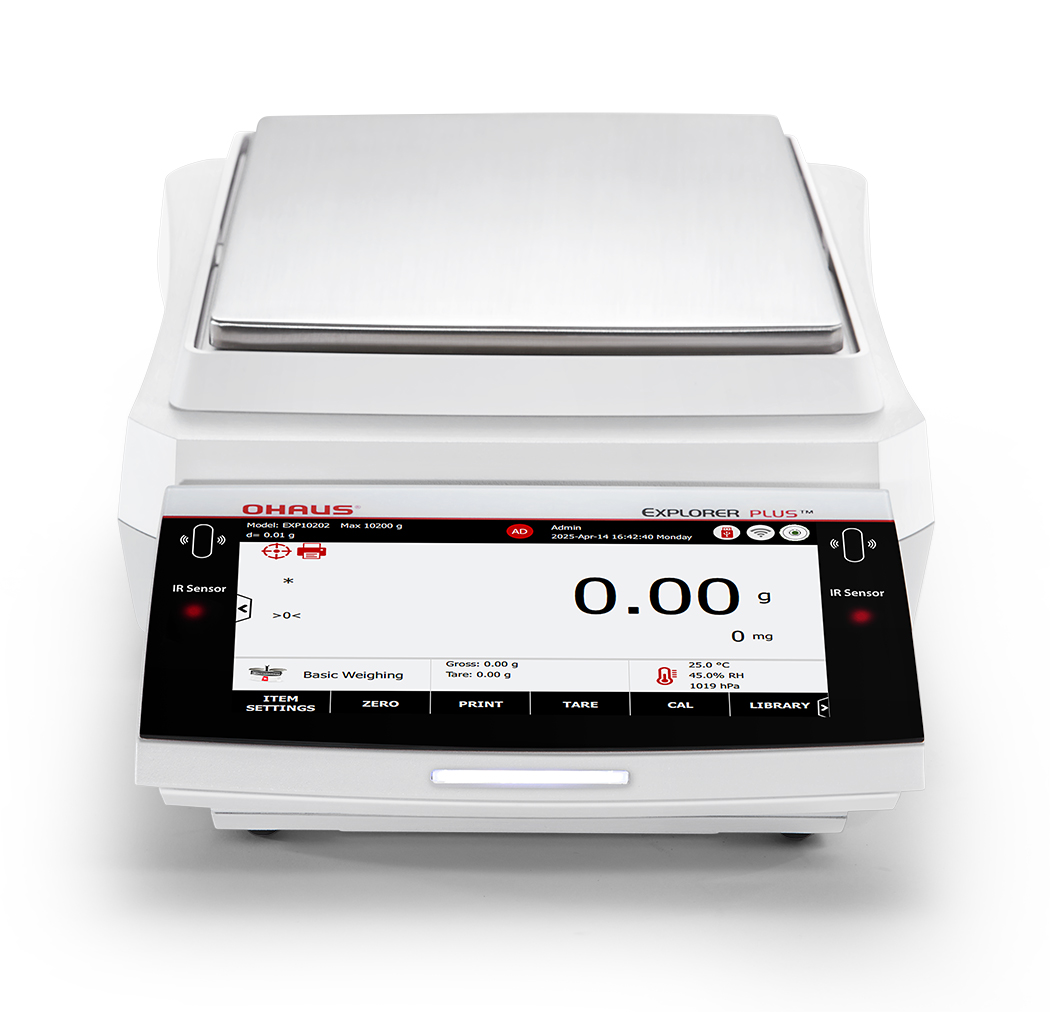
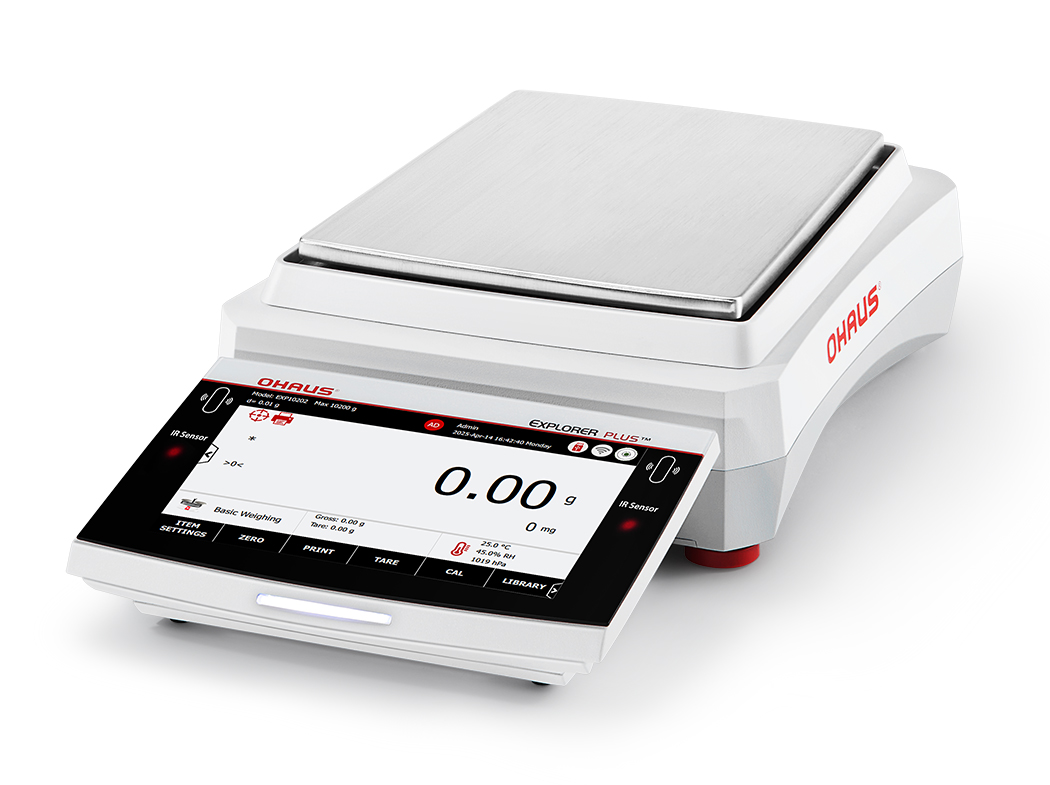
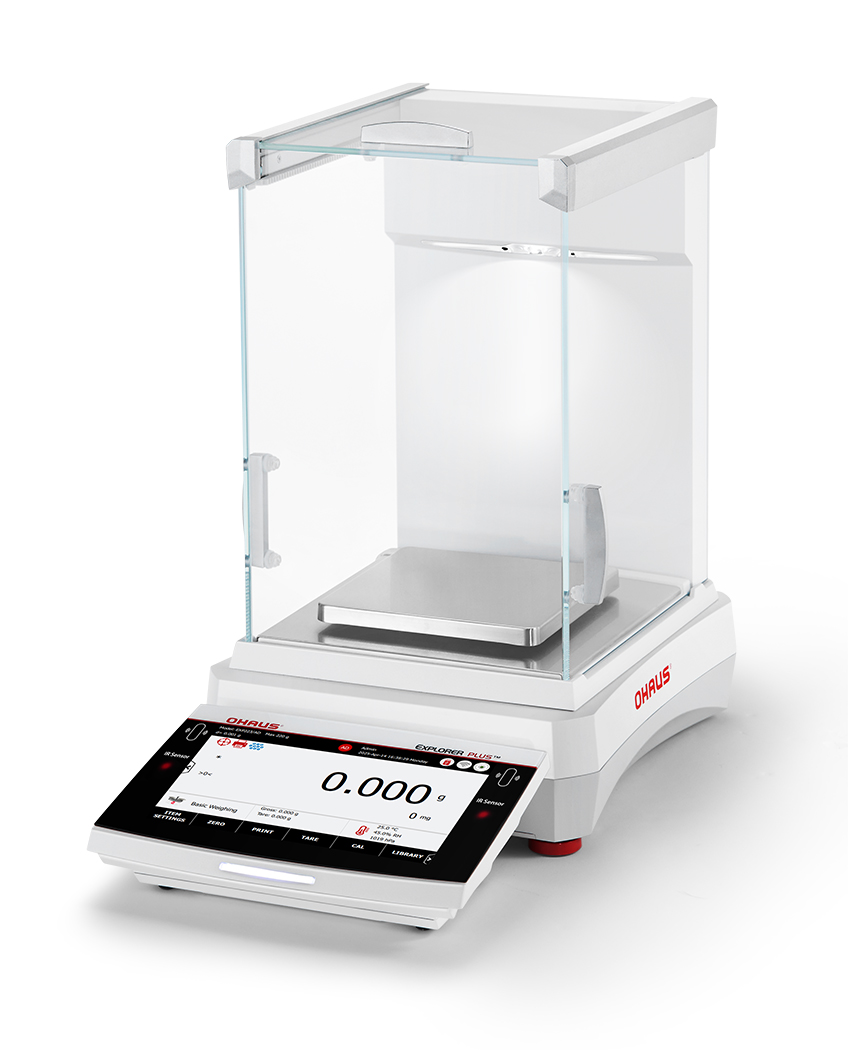
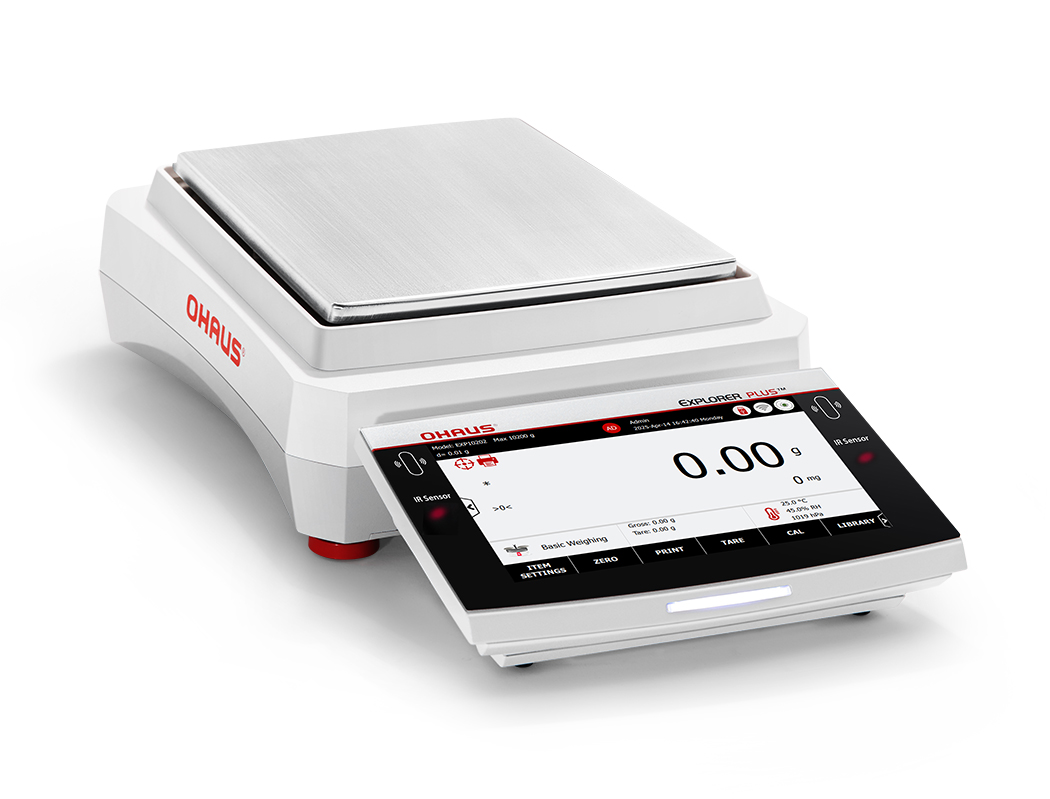
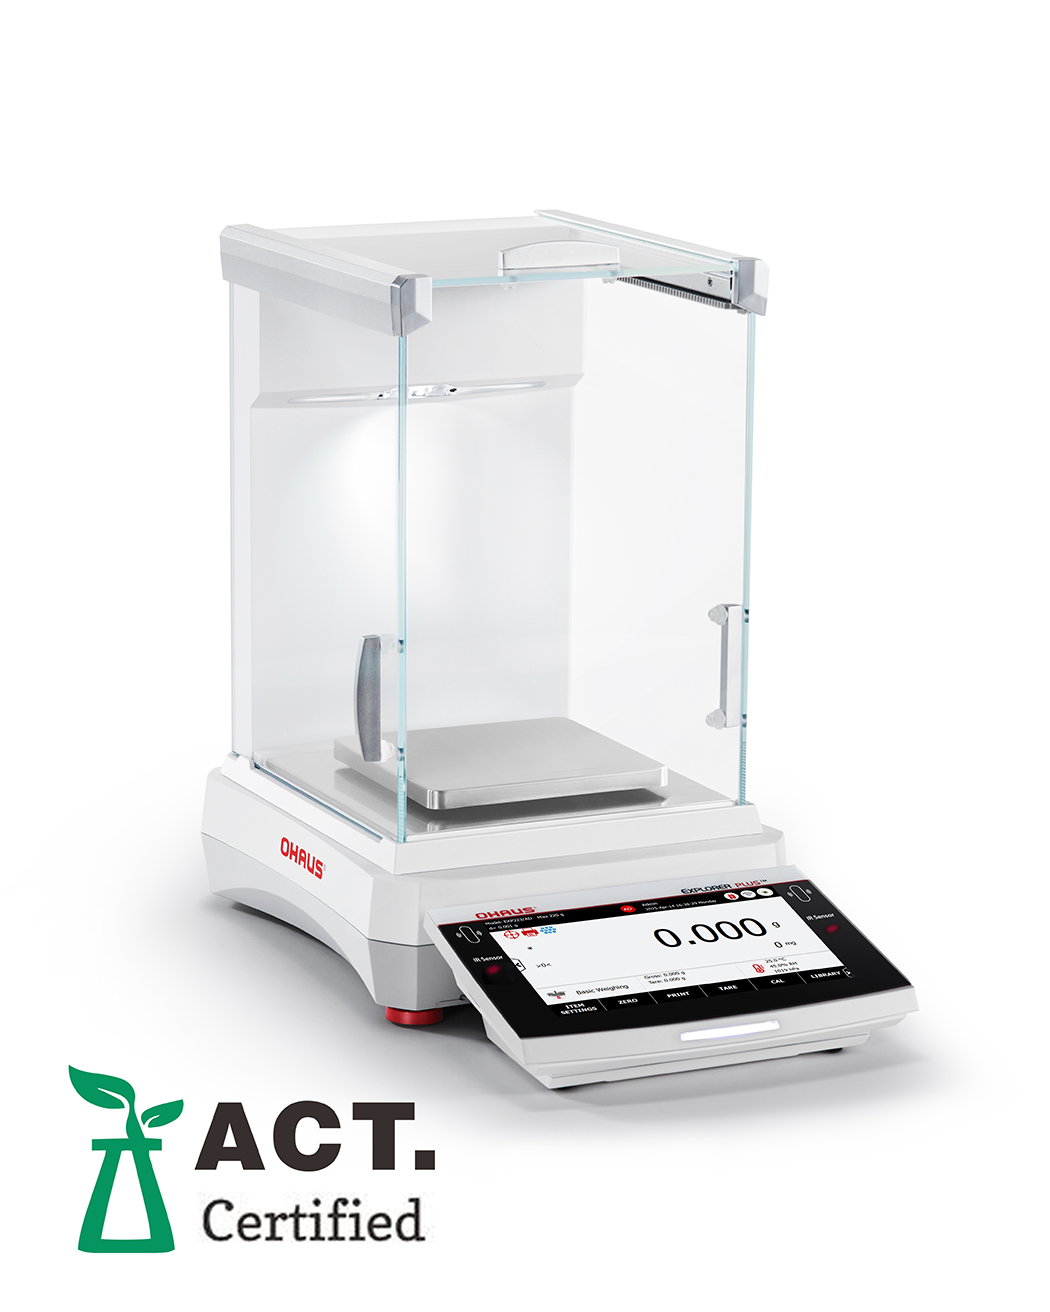
The OHAUS Explorer Precision Balance is the entry level balance in the explorer series. This does not subtract from its performance. This precision balance, offers fantastic repeatability from 1mg to 100mg readability. This is designed for sophisticated laboratory and research environments. It can be used to handle larger samples and vessels with capacities reaching up to 8.2 kg, this line seamlessly integrates robust industrial capacity with advanced scientific accuracy.
The Precision series features two tiers: the core Explorer (EXR), delivering fast, repeatable results for daily tasks, and the premium Explorer Plus (EXP), which introduces next-generation automation and advanced data compliance for high-security applications.
Feature Comparison: Precision EXR vs. EXP Pro
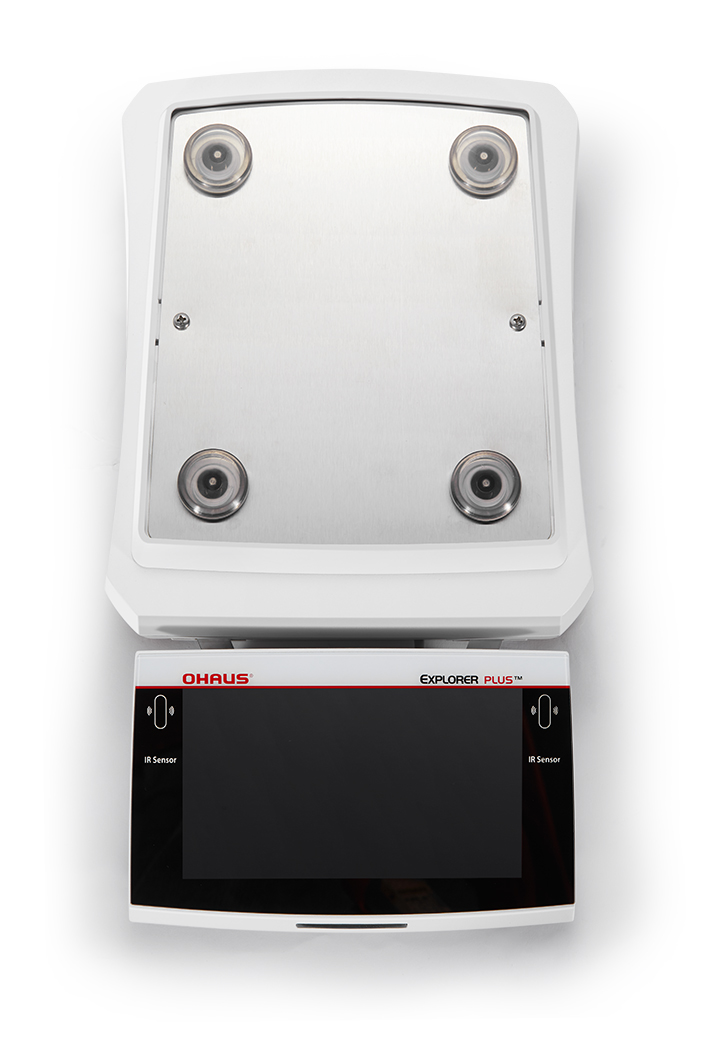
Both precision balances share the core benefits of a responsive 7-inch glass touchscreen and the AutoCal™ automatic internal calibration system. The EXP Pro model is differentiated by its advanced automation and compliance features:
| Feature | Explorer (EXR) – Core Precision Balance | Explorer Plus (EXP) – Pro Precision Balance |
| Best For | General R&D, Batching, Density Determination | Regulated Environments, Full Data Traceability, QA/QC Audits |
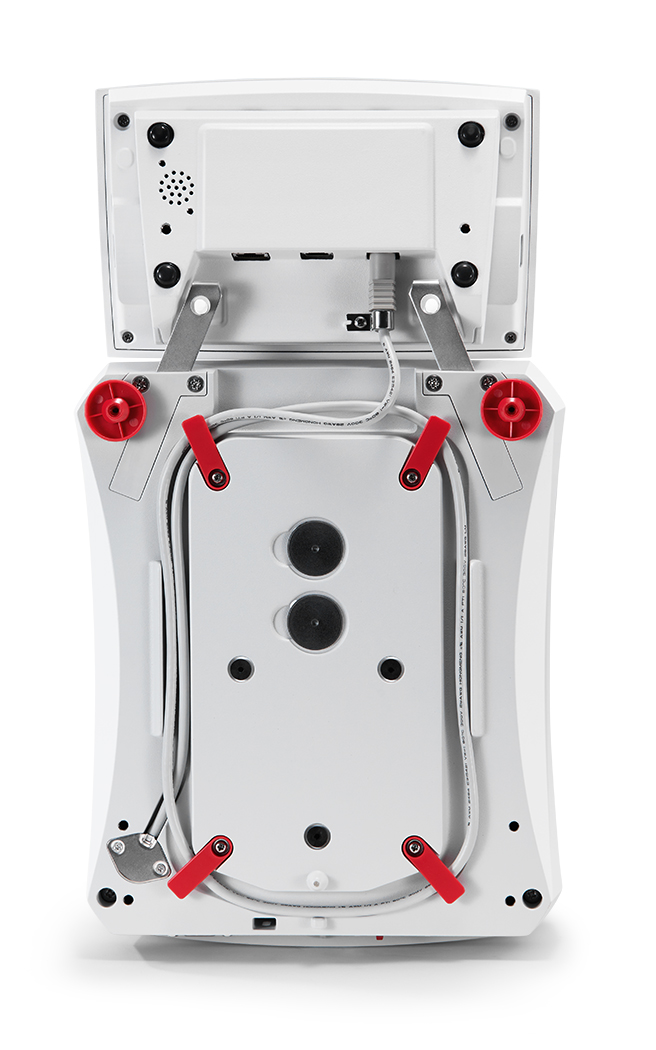
| Setup Automation | Digital Levelling (Manual adjustment with digital guide) | Motorized Levelling System (Fully automatic self-setup) |
| User Management | Simplified data management | 4-Level User System and Password Protection |
| Data Security | Basic data logging | 100k Internal System Log and NTP Time Sync for audit trails |
| Efficiency Tools | Core application modes | Adds SQC, Pipette Adjustment, Fill Variation |
Versatility and Robust Design
The Explorer Precision line is built to maximize lab throughput and integrity:
- Application Depth: Includes comprehensive modes such as Basic Weighing, Parts Counting, Density Determination, Formulation, Totalization, and Peak Hold.
- Contamination Control: Both models feature Touchless Sensors for hands-free operation (tare, zero, print), minimizing sample residue transfer and device wear.
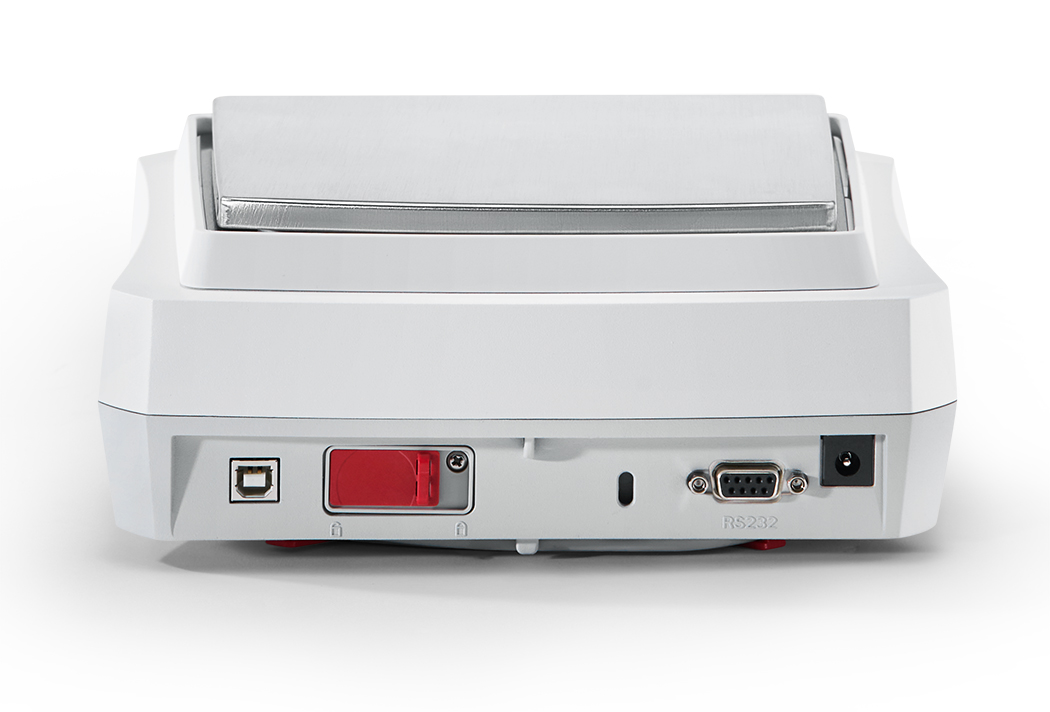
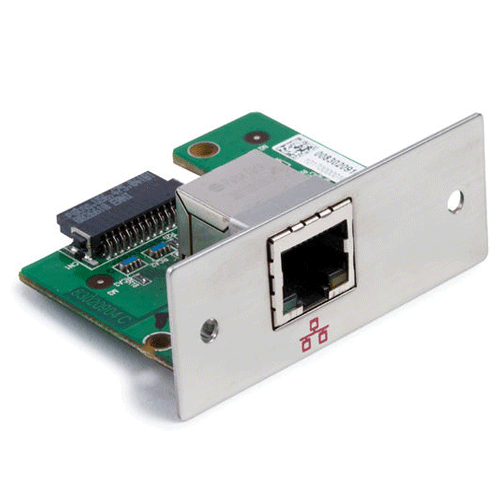
- Connectivity: Seamless integration with LIMS and data systems is provided through multiple ports: USB, Ethernet, and RS232.
Please download the datasheet for full product specifications on the Explorer and Explorer Plus Precision Balances.
This Range At a Glance:
Plus
31059084 – Ohaus EXP223/AD, 220g, 0.001g
31059085 – Ohaus EXP423/AD, 420g, 0.001g
31059086 – Ohaus EXP623/AD, 620g, 0.001g
31059087 – Ohaus EXP1203/AD, 1200g, 0.001g
Normal
31059128 – Ohaus EXR223, 220g, 0.001g
31059129 – Ohaus EXR423, 420g, 0.001g
31059130 – Ohaus EXR623, 60g, 0.001g
31059131 – Ohaus EXR1203, 1200g, 0.001g
Plus
31059099 – Ohaus EXP2202, 2200g, 0.01g
31059100 – Ohaus EXP4202, 4200g, 0.01g
31059101 – Ohaus EXP6202, 6200g, 0.01g
31059102 – Ohaus EXP8202, 8200g, 0.01g
31059103 – Ohaus EXP12202, 12200g, 0.01g
31059104 – Ohaus EXP6201, 6200g, 0.1g
31059105 – Ohaus EXP8201, 8200g, 0.1g
31059106 – Ohaus EXP10201, 10200g, 0.1g
Normal
31059143 – Ohaus EXR2202, 2200g, 0.01g
31059144 – Ohaus EXR4202, 4200g, 0.01g
31059145 – Ohaus EXR6202, 6200g, 0.01g
31059146 – Ohaus EXR8202, 8200g, 0.01g
31059147 – Ohaus EXR12202, 12200g, 0.01g
31059148 – Ohaus EXR6201, 6200g, 0.01g
31059149 – Ohaus EXR8201, 8200g, 0.1g
31059150 – Ohaus EXR10201, 10200g, 0.1g

 Feefo 5.0* 1000+ reviews
 UK wide delivery on all products
 Products can be fully calibrated & certified
 Service & repairs at competitive prices
 Find a better price and we will try and beat it


Reviews
There are no reviews yet.