Industrial scales, electronic balances, calibration weights and moisture analysers - order online, telephone 01842 751633 or email sales@blakeandboughton.co.uk for advice, a quotation or to place an order

cart-icon

My Cart

Items: 0 items
Value: £0.00

user-icon

SAUTER AFH FAST Data Transfer Software

Our Price: £118.00 + VAT (£141.60 inc VAT)

Description

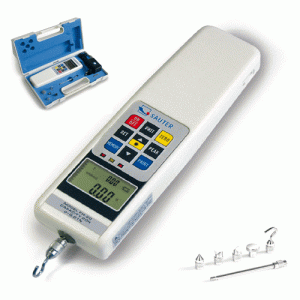
For use with the following force gauges; FL & FH

PLEASE NOTE THIS ITEM DOES NOT WORK WITH APPLE PRODUCTS 

Features:
· Force measurements can be conducted over a very short period, i.e. seconds
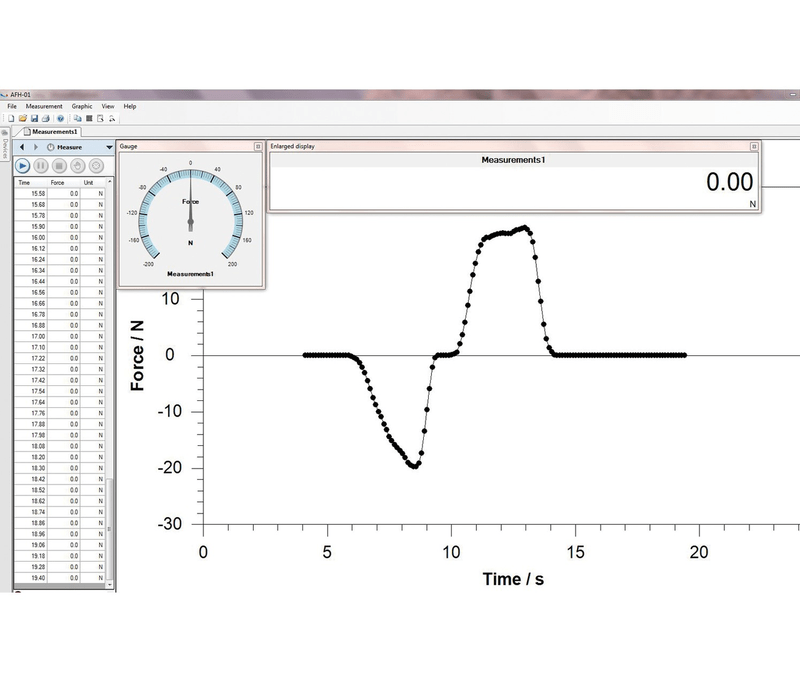
· A high speed data transfer to a PC is possible (with a transfer of up to 20 data sets per second) when combining the AFH FAST with SAUTER FH or FL
· AFH FAST shows the results in a Force-Time-Graph and can export the data to Microsoft Excel®
· Compatible with the following operating systems: Microsoft Windows 7/8.1/10

Technical Data:
· Data recording rate approx. 20 measurements per second with SAUTER FH and FL

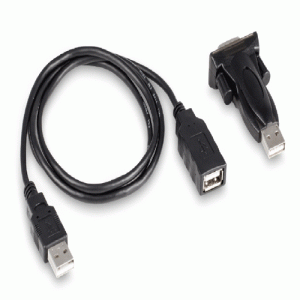
· The following optional interface cables can be supplied with the product (needs to be selected separately on the site)

– RS-232 for SAUTER FH (FH-A01)
– RS-232 for SAUTER FL (FL-A04)
– USB for SAUTER FL (FL-A01)
Reviews

There are no reviews yet.

Be the first to review “SAUTER AFH FAST Data Transfer Software”

Your email address will not be published. Required fields are marked *

Frequently Asked Questions

Please see below for answers to frequently asked questions.

A calibration certificate proves the accuracy of your weighing equipment. It is very likely that if accuracy matters in your workplace, certification will be required by your industry regulators. They are straightforward to get hold of though. Just ask our team.

If you are trading or transacting anything by weight, you will probably need to demonstrate your weighing equipment is verified for trade use. This gives your customers confidence in your business and will make sure buying and selling run smoothly. We can help get you with relevant approvals for your equipment.

The answer will vary depending on how your equipment is used. As a minimum, we typically recommend once a year but our team can provide advice based on your individual circumstances.

The International Organization of Legal Metrology (OIML) has established standards for the classification of calibration test weights. Varying from E0 & E1, which are the most accurate to M2 which are commonly used for calibrating platform scales, floor scales and other industrial weighing instruments.

As a rough guide we have listed desired accuracy against class below.

+/- 0.1% – UNclassed Proof Load Test Weights
+/- 0.05% – M3 (Check/calibrate coarse scales)
+/- 0.005% – M1 (Check/calibrate standard scales)
+/- 0.0015% – F2 (Check/calibrate portable balances)
+/- 0.0005% – F1 (Check/calibrate precision balances)
+/- 0.00015% – E2 (Check/calibrate analytical balances)

The choice of weight class depends on the intended use and the level of accuracy required for a particular application. If you’re unsure, talk to our team who can advise you on the right class for your equipment.

If you’re sending a scale back to us for recalibration, it is ideal to use the original packaging. If this is not available choose a sturdy well-padded box to avoid shocks. Where possible, protect the load sensor by removing the weighing pan and any under-pan support and pack these separately in the box. You may be able to use the equipment’s locking pins or screws too.

Do ensure all the paperwork, including your contact details, is included to ensure we can return it once calibration is complete.

Need help? Speak to one of our experts Contact Us

Sign up To Our Newsletter
For Exclusive Deals & news!

Right Menu Icon