Description
Taking Weighing Precision And Protection To New Heights
All the innovative technologies of Apollo are designed to provide functional solutions for real world problems that users face in laboratories or in factories. Now discover what they are, and what precision, protection, performance and productivity really mean to you!
The GX-A series of 13 models with internal calibration function (three 0.0001g readability models, seven 0.001g readability models, six 0.01g readability models and two 0.1g readability models)
Smart SHS®
Smart super hybrid sensor (Smart SHS) realising wide lineup from analytical to high-resolution, high-capacity precision models
Fast stabilization – a combination of a high-stiffness, Roberval-structure spring material and an electromagnetic force restoration mechanism simultaneously realizes fast stabilization and high resolution for efficient, precise weighing. Typical stabilization time is from 1.5 to 2 seconds with the 0.0001g readability models and 1 second with the 0.001g/0.01g/0.1g readability models
Electronically controlled load (ECL) that enables precision management without using an external weight
Flow rate is determined from the weight variation that occurs during a given interval. Many operators time this interval by using a stopwatch. Besides being troublesome and error-prone, this method does not allow precise recording of flow rates that vary from moment to moment because the interval used to divide the weight variation (calculation time) is too long. Cushioning and overload protection mechanism. Apollo can calculate and display/output the mass flow rate (the unit of measure can be selected from g/s, g/m or g/h), or
the volume flow rate (ml/s, ml/m or ml/h) by entering the density of the material – up to 10 densities can be saved to the device
WinCT-FRD (freeware):
This software enables a PC to simultaneously display the weight and flow rate values transmitted from the balance on a two axis graph so that you can see their changes in real time. The graph can be printed out using a printer or saved as an image file, whereas the recorded data can be saved in CSV or TXT format
Tare Memory – the tare value can be saved in non-volatile memory. When this function is activated, the power-on re-zero/tare is turned off
Data Memory – Apollo has a capacity to store up to 200 weighing results + 50 calibration results (all with timestamp), and 50 unit masses to be used in counting mode for cases when no external memory device is available. The stored weighing results or calibration results can be output to a printer or PC in one batch
GLP/GMP/GCP/ISO compliant output
Applications: Weighing, Counting Function, Percentage Function
Interface: RS-232, USB
Weighing Units: mg, g, oz, ozt, ct, mom, dwt, gr, pcs, %, SG, a user-programmable unit
Power Supply: AC Adapter approx. 30 VA
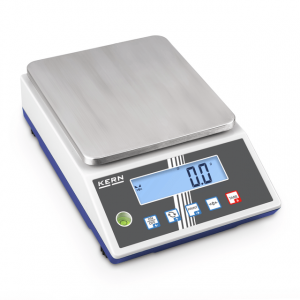
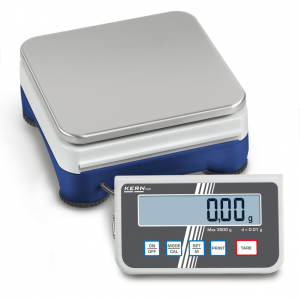
mpn: GX-3002A
Plate Size: 165 mm x 165 mm

 Feefo 5.0* 1000+ reviews
 UK wide delivery on all products
 Products can be fully calibrated & certified
 Service & repairs at competitive prices
 Find a better price and we will try and beat it


Reviews
There are no reviews yet.