Description
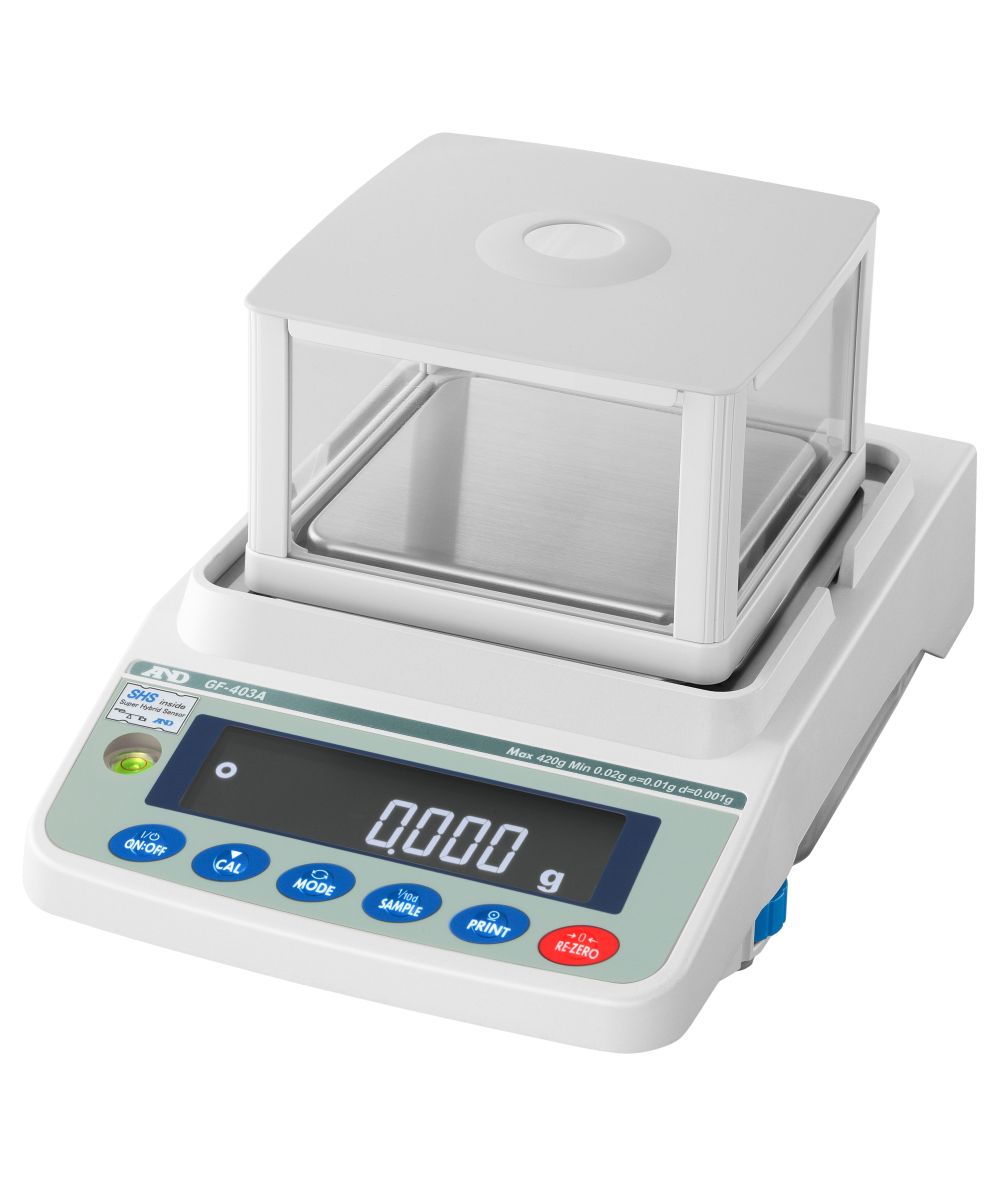
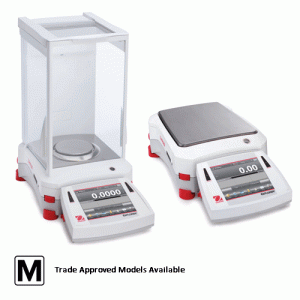
With the A&D Apollo series we are taking weighing precision and protection to new heights!
The incorporated advanced technologies provide innovative solutions to the user.
The Electronically Controlled Load (ECL) technology enables users to perform a quick repeatability test internally without the need for an external weight. The entire process takes only 1.5 minutes versus traditional external weight procedures which can take up to 5-10 minutes, ultimately providing greater convenience and efficiency.
Standard deviation is calculated by the Auto Precision Assessment (APA) feature. A&D Apollo smartly performs a diagnostic system check or Dia-Check providing a critical pass or fail indication.
The integrated Impact Shock Detection (ISD) visually indicates the magnitudes of impact shocks that the sensor receives at four different levels. This function provides real-time feedback to the user to prevent damage to the weighing sensor.
See datasheet for plates sizes and full information.
- Wide selection including high-capacity, high-resolution, internal calibration (GX-A) or external calibration (GF-A) models
- Newly developed Smart SHS weighing sensor featuring ECL technology*2
- APA – Auto Precision Assessment. Automatic assessment of the balance performance. Calculation and display of Standard Deviation (repeatability) at the point of use without the need for calibration weights! Can be checked daily via a key press.
- Automatic Minimum Weight Calculation and setting via APA function
- Input minimum weight automatically via APA or manually using weights
- Visual Minimum Weight alert
- UAC – User Access Control, Administrator and Operator password access to ensure data integrity
- Calibration via One-touch, Interval, pre-set times (3) or automatically in response to ambient temperature changes (GX-A)
- ISD – Impact Shock Detection*1, 4 level shock detection with visual and audible feedback. Maintain the performance of your investment through correct use of the balance. Ideal in automated loading applications and ideal for operator guidance
- FRD – Flow Rate Display*2, direct display of flow rate of a sample in g/s, g/m, g/h or volume flow rate in mL/s, mL/m, mL/h. Up to 10 sample densities can be saved to memory. Use in conjunction with the flow Rate Comparator to keep flow rates within designated limits
- SCF – Statistical Calculation Function, display and print various statistical results on the balance display or output to a printer or PC
- Standard RS232 and Dual Mode USB interface. USB can be configured for ‘quick’ mode (connect to PC without the need for software installation) or bi-directional mode
- UFC – Universal Flexi Coms configurable data output, ideal for connection to data acquisition systems or barcode label printers etc.
- Gross/Net/Tare data output, Tare memory, Underhook, Capacity Indicator
- Large Glass Breeze Break GXA-10, optional
- Built in Static Eliminator with Large Glass Breeze Break GXA-17, optional
- Wide selection of Options and Accessories
OPTIONS & ACCESSORIES
2nd RS-232C Interface GXA-03
Comparator Relay Output, Buzzer, External Input Interface GXA-04
Analog Output Interface GXA-06
Ethernet Interface FXi-08
Built-in Rechargeable Battery (Factory/Dealer Fit Option)GXA-09G
FX Large Glass Breeze BreakGXA-10Animal Weighing Pan (For Models of 320g Capacity or Higher) GXA-12
Density Determination Kit (For 1mg Models Only) GXA-13
Glass Breeze Break and Fanless Ionizer (Static Eliminator) GXA-17
Ext Key Input Interface with AX-SW137-PRINT Foot Switch GXA-23-PRINTExt.
Key Input Interface with AX-SW137-REZERO Foot Switch GXA-23-REZERO
External Key Input Interface with the AX-T-314A-S Plug GXA-23-PLUGUSB
Host Interface (Factory-Installed/Dealer Option) GXA-24
External Fanless Ionizer (Static Eliminator) GXA-25
External IR Switch GXA-26
Foot Switch – Pre-wired for Print Function AX-SW137-PRINT
Foot Switch – Pre-wired for Re-Zero Function AX-SW137-RE-ZERO

 Feefo 5.0* 1000+ reviews
 UK wide delivery on all products
 Products can be fully calibrated & certified
 Service & repairs at competitive prices
 Find a better price and we will try and beat it



Reviews
There are no reviews yet.