cart-icon

My Cart

Items: 0 items
Value: £0.00

user-icon

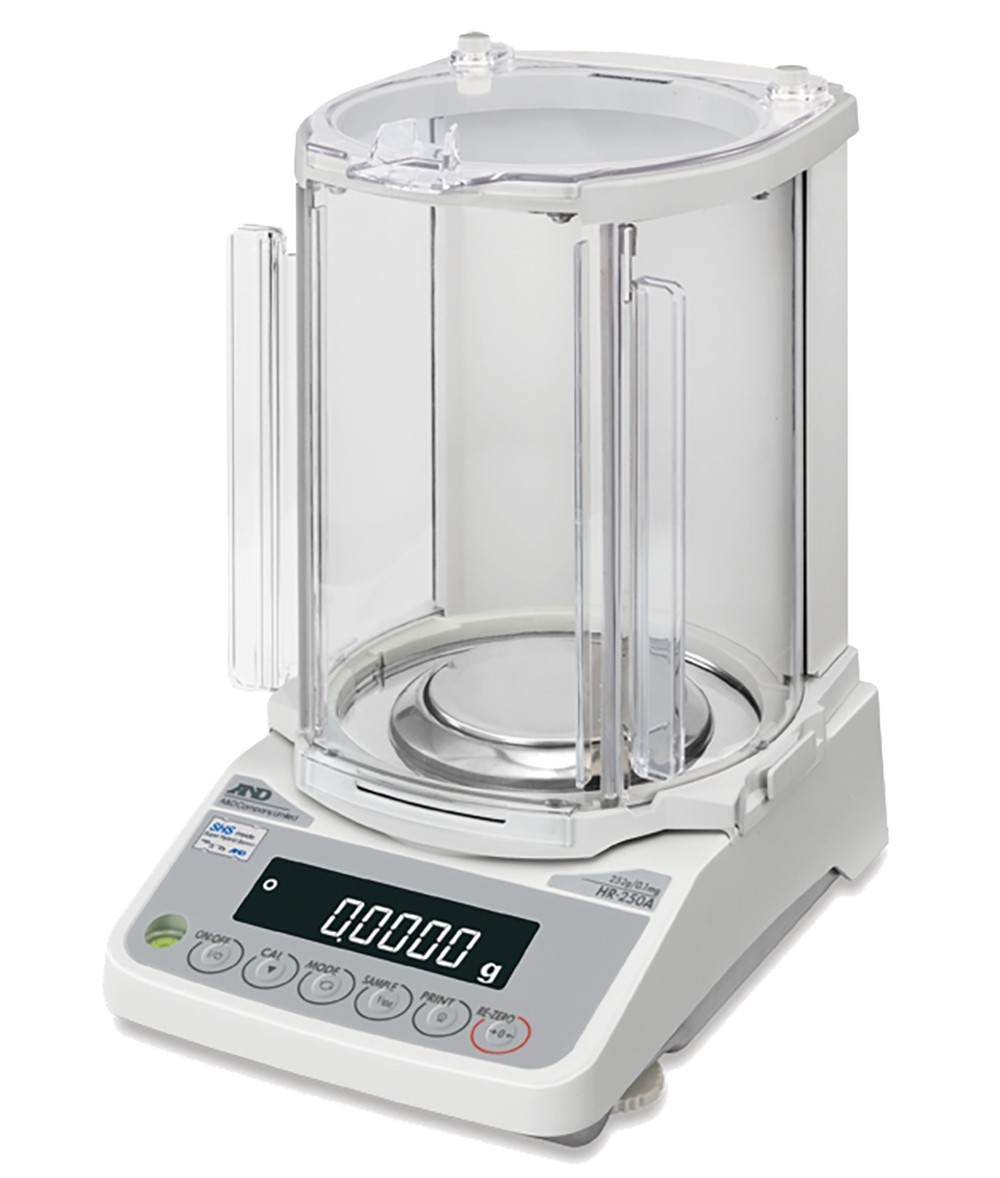
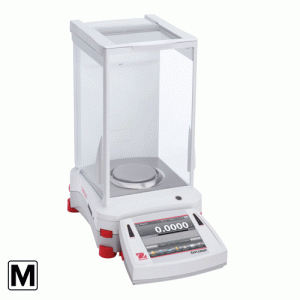
A&D HR-250A 252g x 0.1mg Analytical Balance

Our Price: £812.69 + VAT (£975.23 inc VAT)

The HR-A/-AZ Series are entry-level Compact Analytical Balances with a shatterproof, anti-static draft shield. The rotary doors also give HR-A/Z balances the smallest footprint ever in an A&D analytical (0.1mg) balance.

Do you require a calibration certificate – traceable to National Standards?

Price: £35

Description

Robust construction, strong protection against dust & water
Built-in internal calibration at the touch of a button (HR-AZ)
Shock absorber function
Auto power ON/OFF function
B5 size footprint for use in narrow space
Reverse backlit LCD display for easy to read weighing results
SCF – Statistical calculation function
Standard RS-232C
Fast compact SHS sensor, response time of about 2 seconds
Quick USB interface – no driver installation required (optional)
LAN – Ethernet interface with WinCT-Plus software (optional)
Easily removable large breeze break
Built-in rechargeable NiMH battery pack (optional)

Weighing Units: g, mg, oz, ozt, ct, mom, dwt, gr, pcs, %, SG, and a user-programmable unit

Power Supply: 100V – 240V AC Adaptor – 11VA

Shipping Dimensions: 511 (W) x 437 (D) x 648 (H) mm

Downloads

PDF-Download

We endeavour to deliver your goods to you as fast as we can. A large percentage of our orders are delivered in 3 - 5 working days (all mainland UK postcodes except IV, AB and KW) but some goods can take longer if they are delivered direct from the manufacturer or if the item is made to order. Please note, IV, AB and KW postcodes and non-mainland UK including Northern Ireland can take longer. Please give us a call if your order is urgent to verify the delivery time or see if a faster delivery is possible (additional costs may apply for larger orders).

The following delivery charges may apply per order:
  • £6.00 + VAT – Mainland UK
  • £30.00 + VAT – UK non-mainland

Reviews

There are no reviews yet.

Be the first to review “A&D HR-250A 252g x 0.1mg Analytical Balance”

Your email address will not be published. Required fields are marked *

Frequently Asked Questions

Please see below for answers to frequently asked questions.

A calibration certificate proves the accuracy of your weighing equipment. It is very likely that if accuracy matters in your workplace, certification will be required by your industry regulators. They are straightforward to get hold of though. Just ask our team.

If you are trading or transacting anything by weight, you will probably need to demonstrate your weighing equipment is verified for trade use. This gives your customers confidence in your business and will make sure buying and selling run smoothly. We can help get you with relevant approvals for your equipment.

The answer will vary depending on how your equipment is used. As a minimum, we typically recommend once a year but our team can provide advice based on your individual circumstances.

The International Organization of Legal Metrology (OIML) has established standards for the classification of calibration test weights. Varying from E0 & E1, which are the most accurate to M2 which are commonly used for calibrating platform scales, floor scales and other industrial weighing instruments.

As a rough guide we have listed desired accuracy against class below.

+/- 0.1% – UNclassed Proof Load Test Weights
+/- 0.05% – M3 (Check/calibrate coarse scales)
+/- 0.005% – M1 (Check/calibrate standard scales)
+/- 0.0015% – F2 (Check/calibrate portable balances)
+/- 0.0005% – F1 (Check/calibrate precision balances)
+/- 0.00015% – E2 (Check/calibrate analytical balances)

The choice of weight class depends on the intended use and the level of accuracy required for a particular application. If you’re unsure, talk to our team who can advise you on the right class for your equipment.

If you’re sending a scale back to us for recalibration, it is ideal to use the original packaging. If this is not available choose a sturdy well-padded box to avoid shocks. Where possible, protect the load sensor by removing the weighing pan and any under-pan support and pack these separately in the box. You may be able to use the equipment’s locking pins or screws too.

Do ensure all the paperwork, including your contact details, is included to ensure we can return it once calibration is complete.

Need help? Speak to one of our experts Contact Us

Sign up To Our Newsletter
For Exclusive Deals & news!

Right Menu Icon